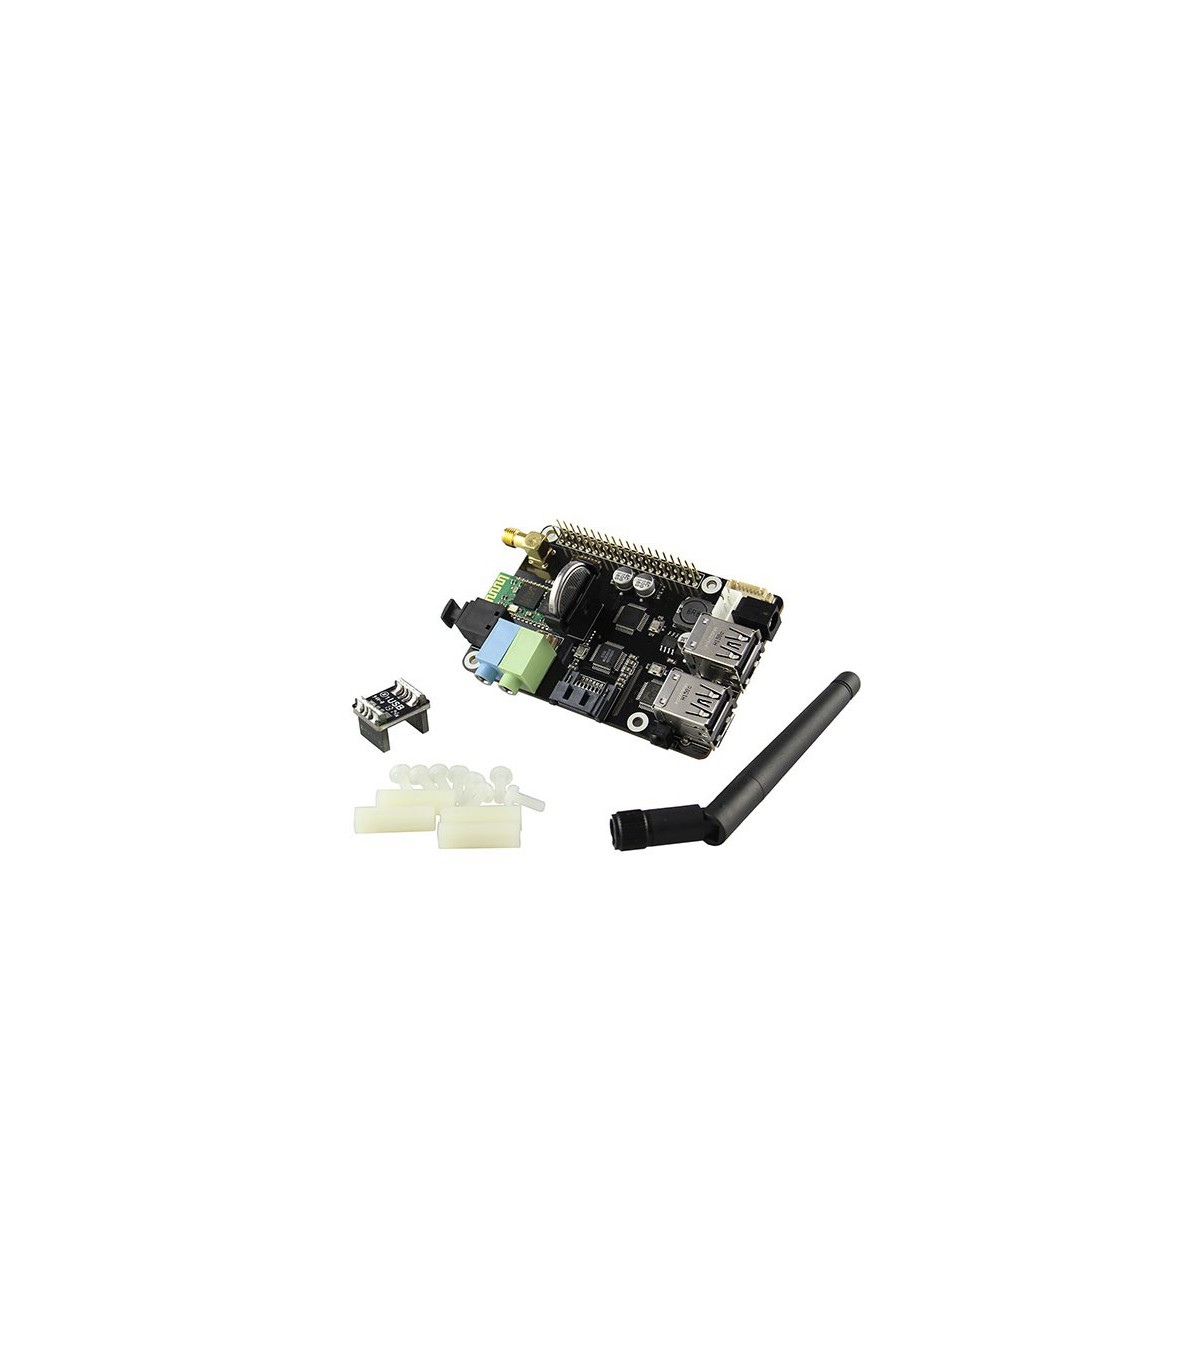
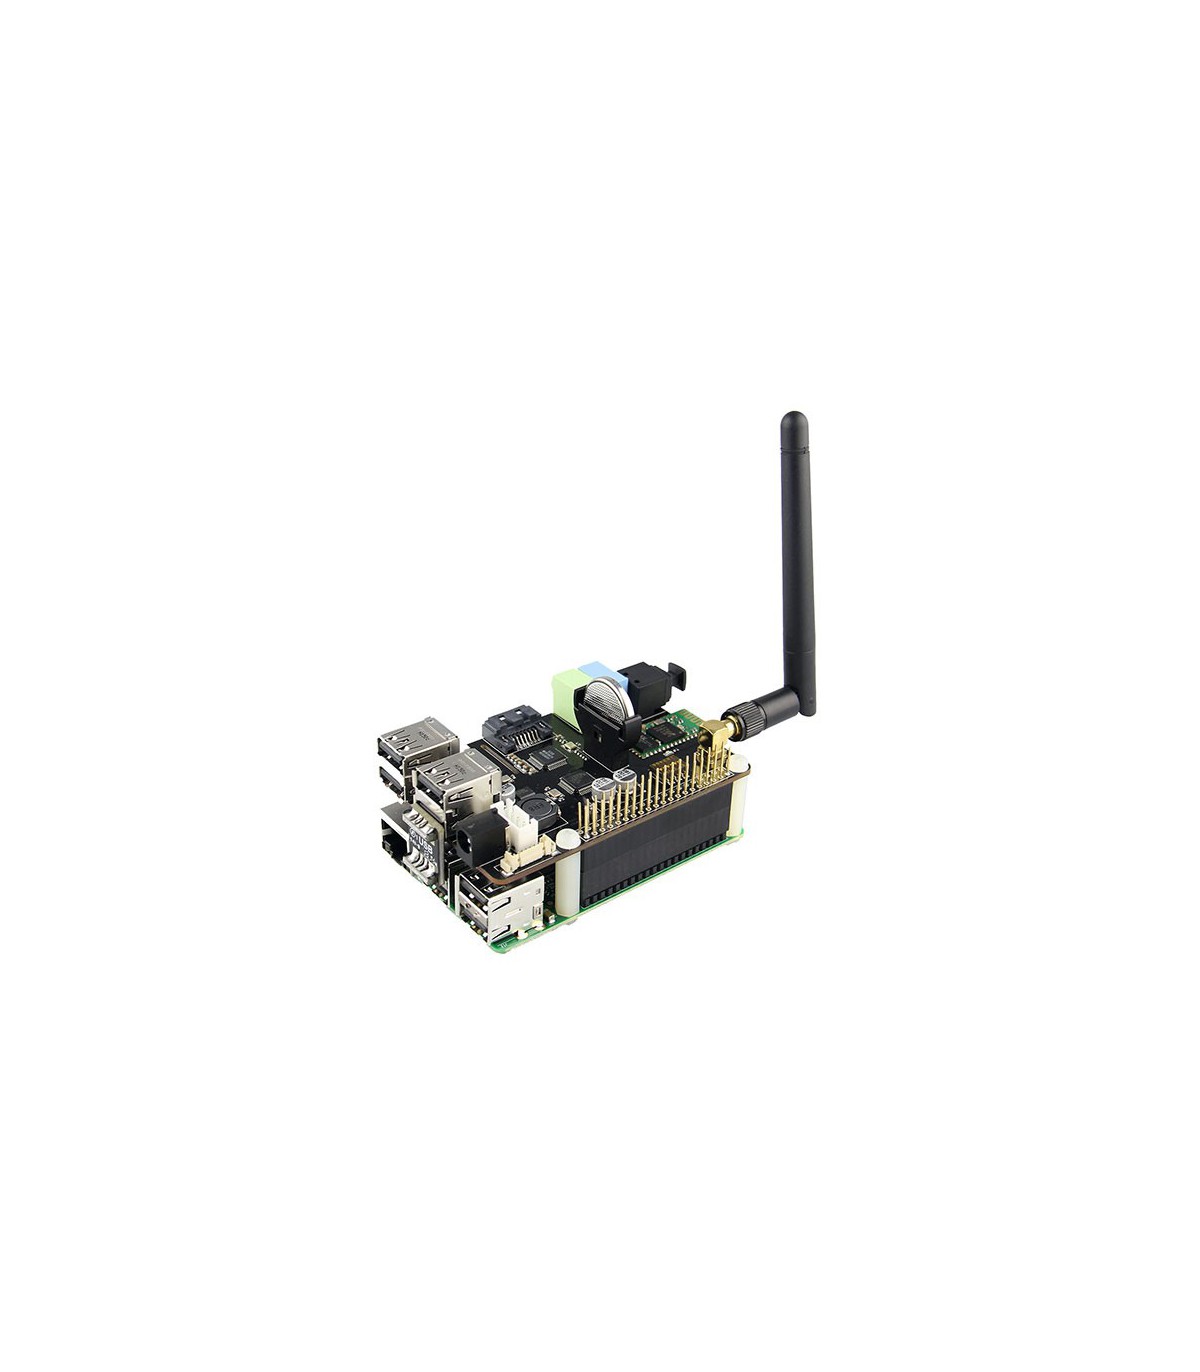
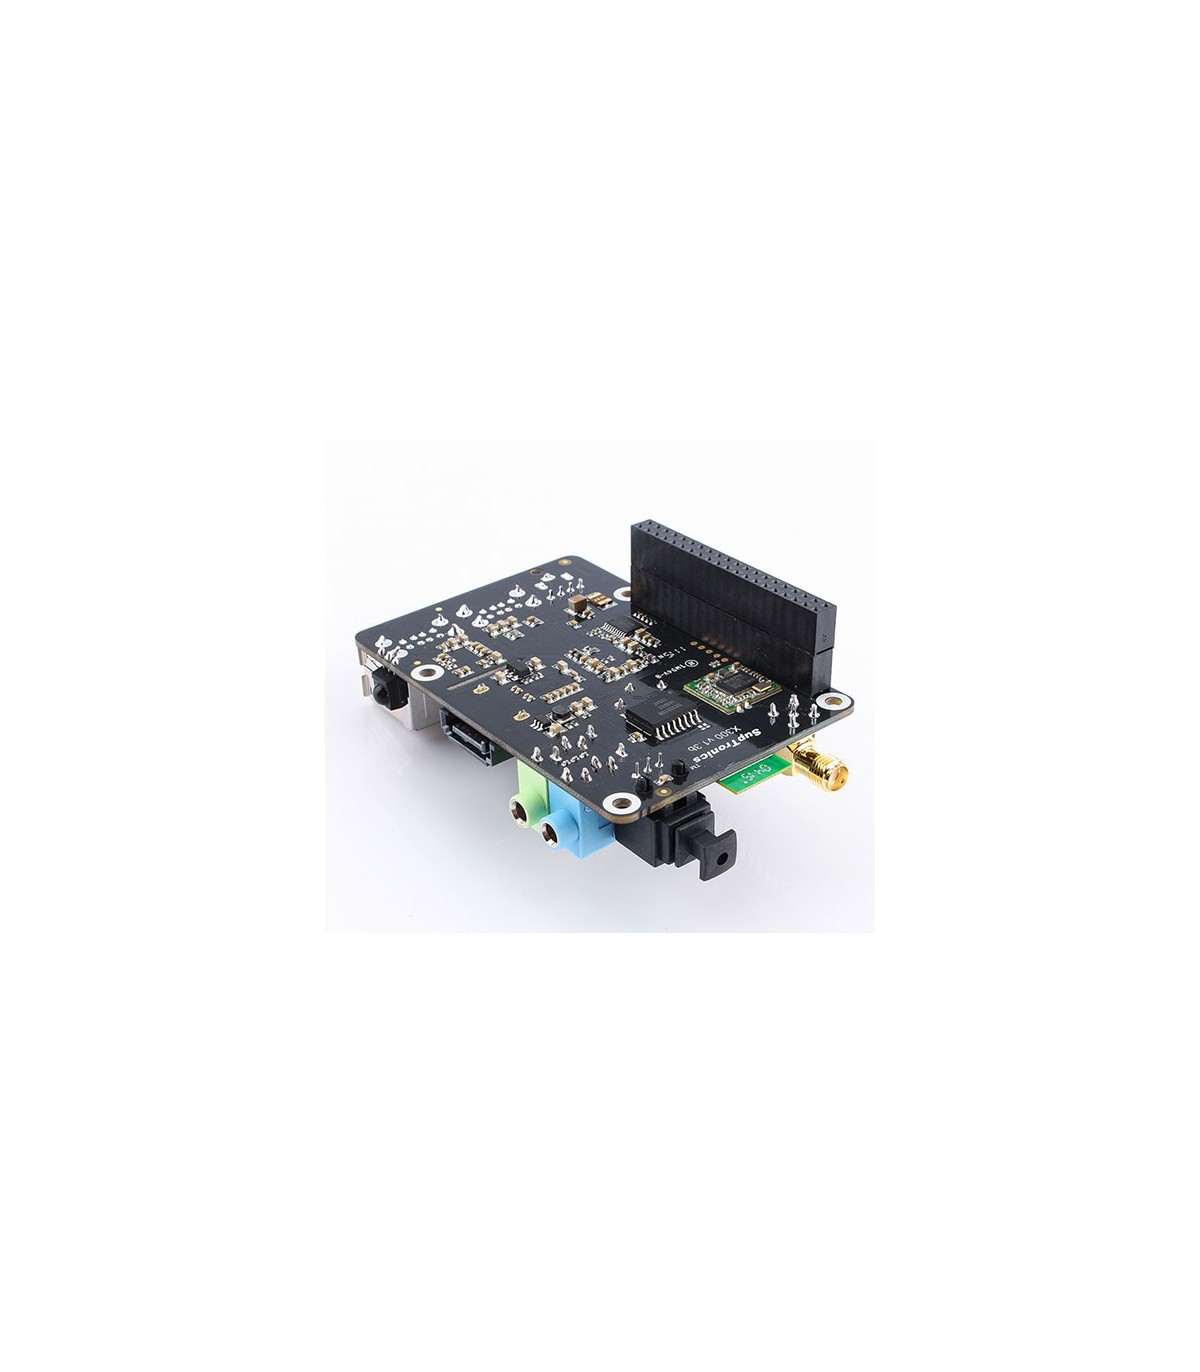
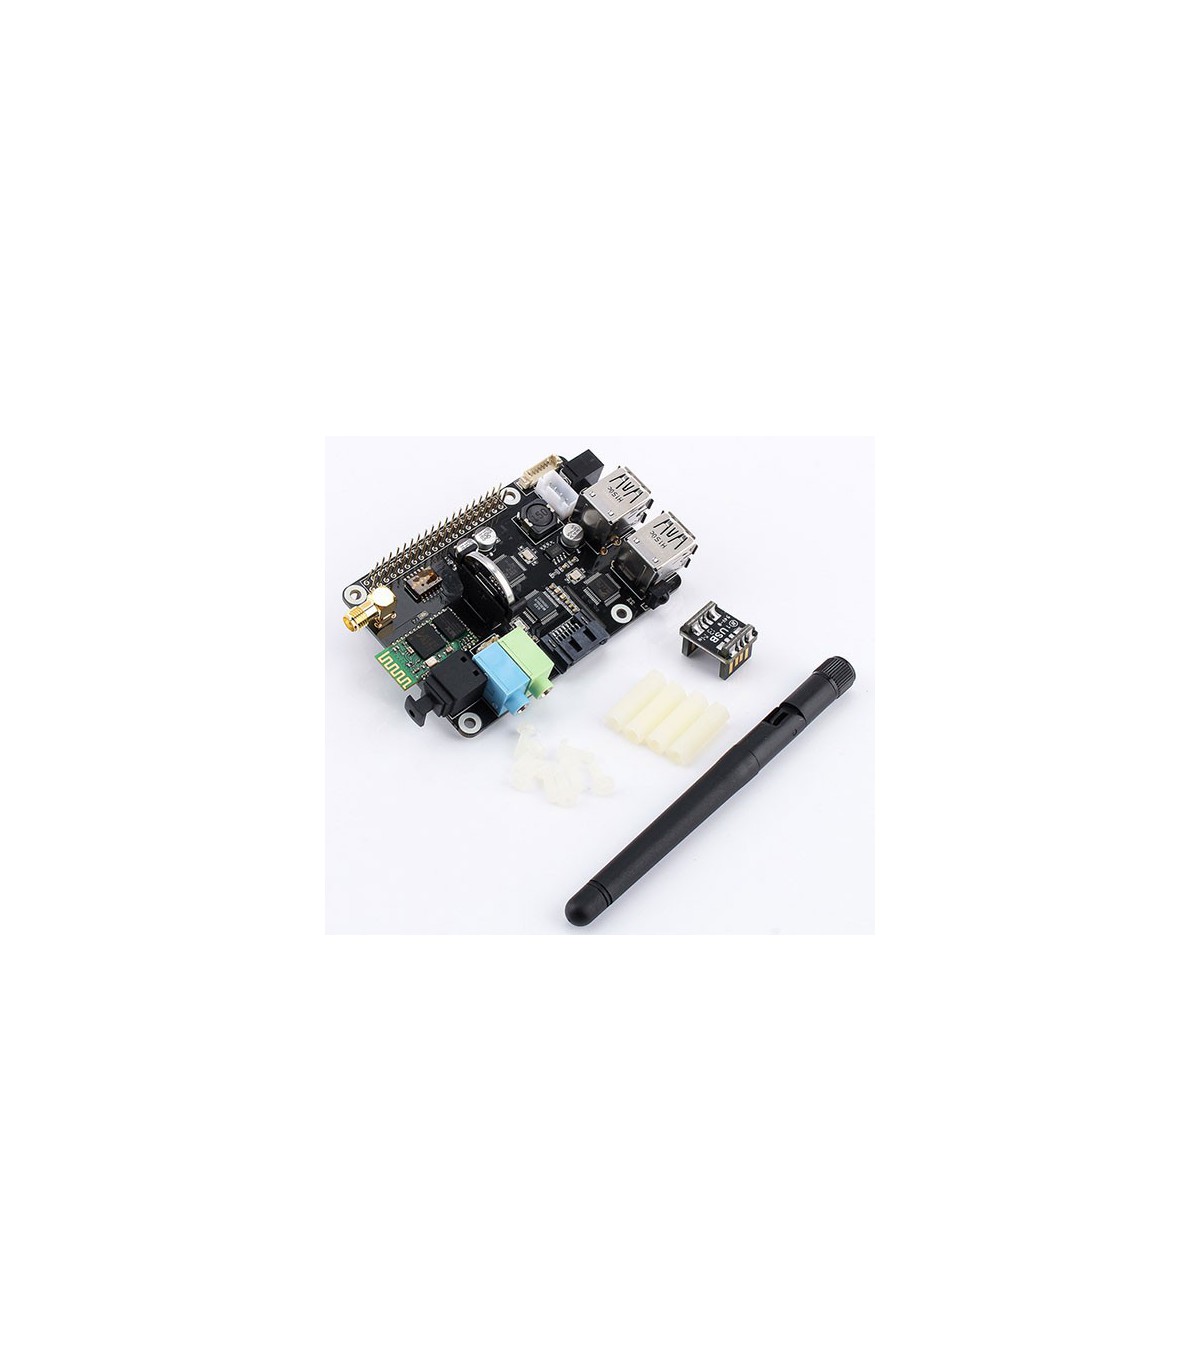
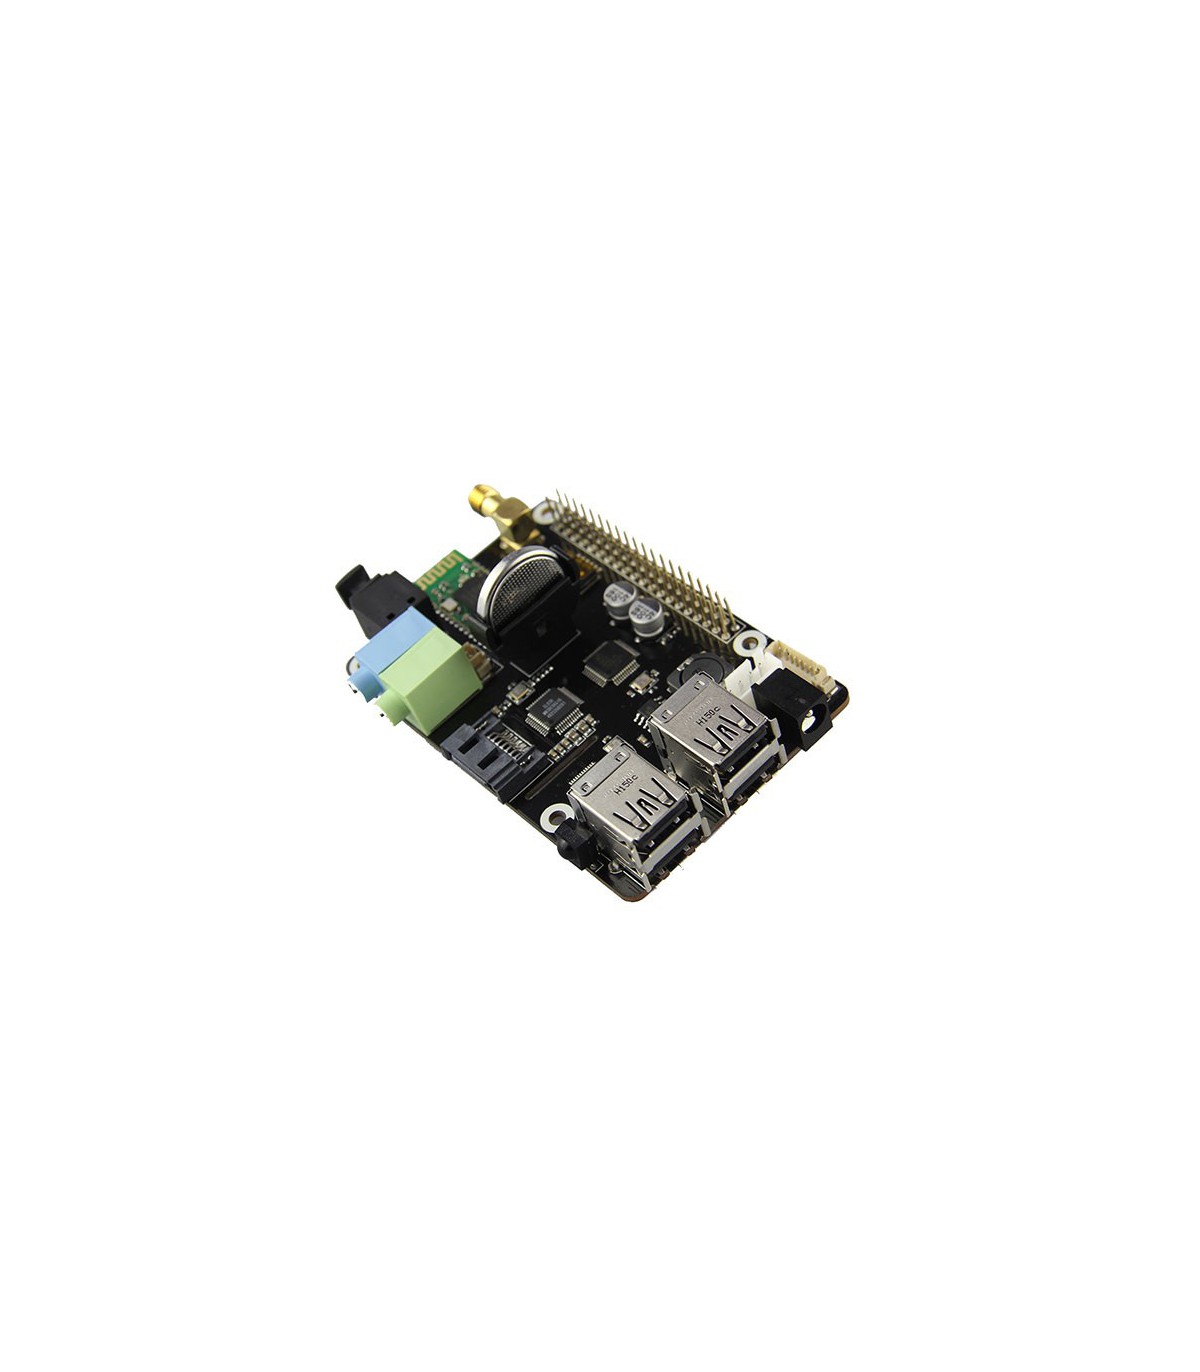
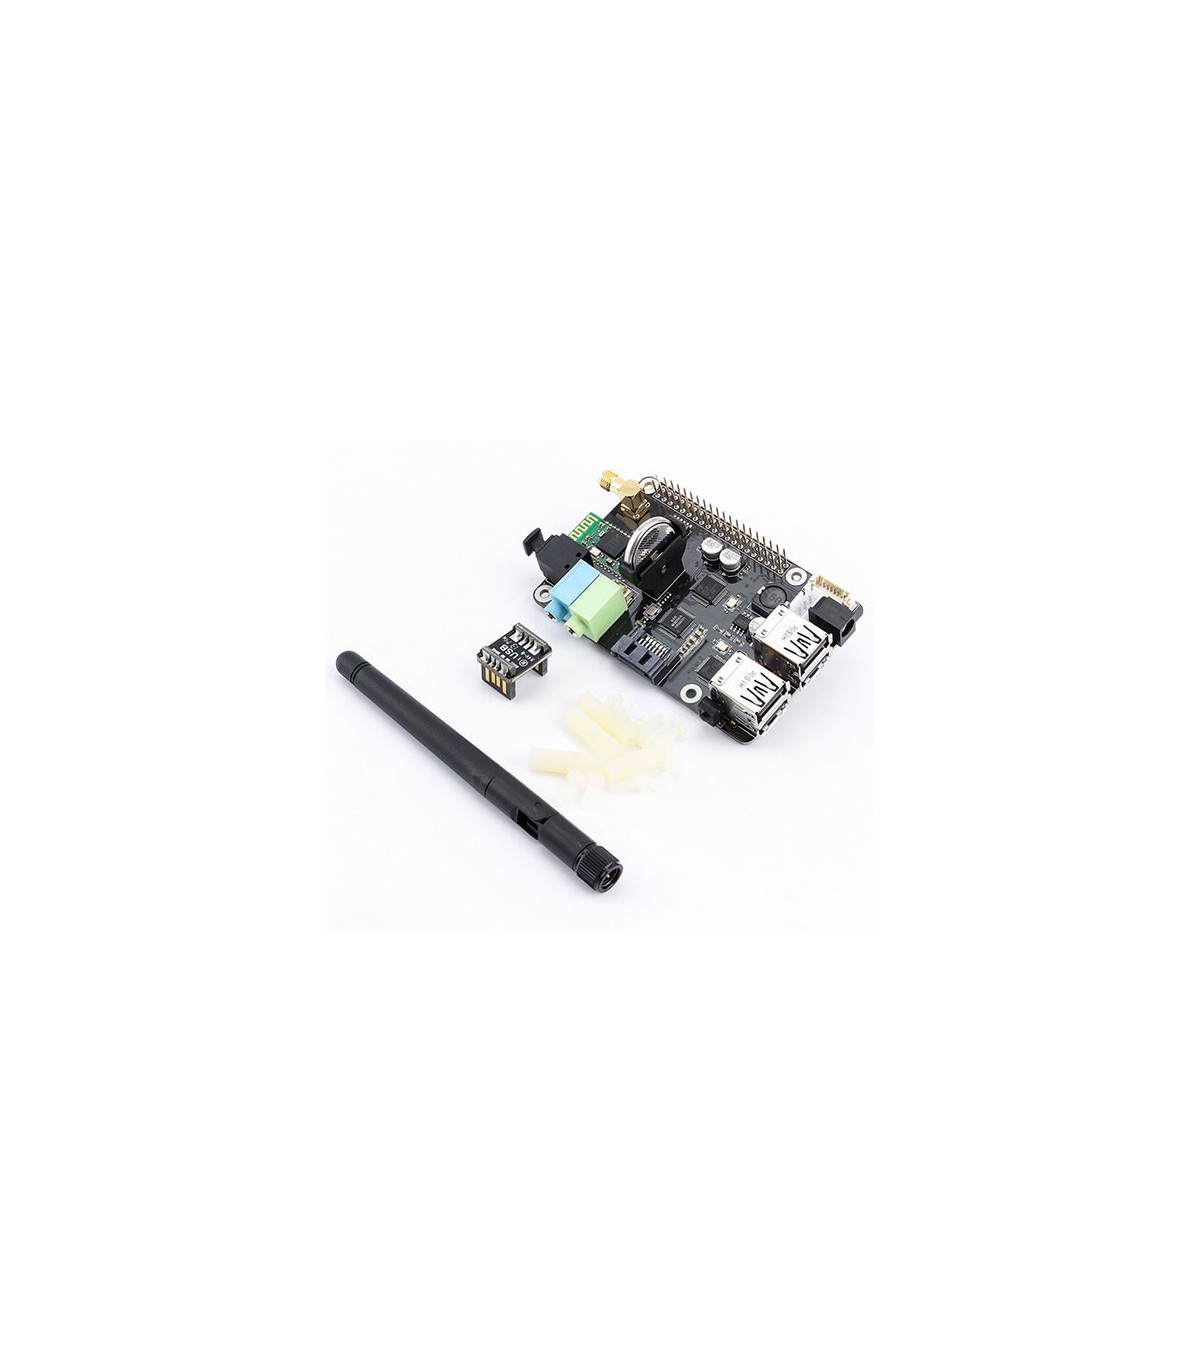
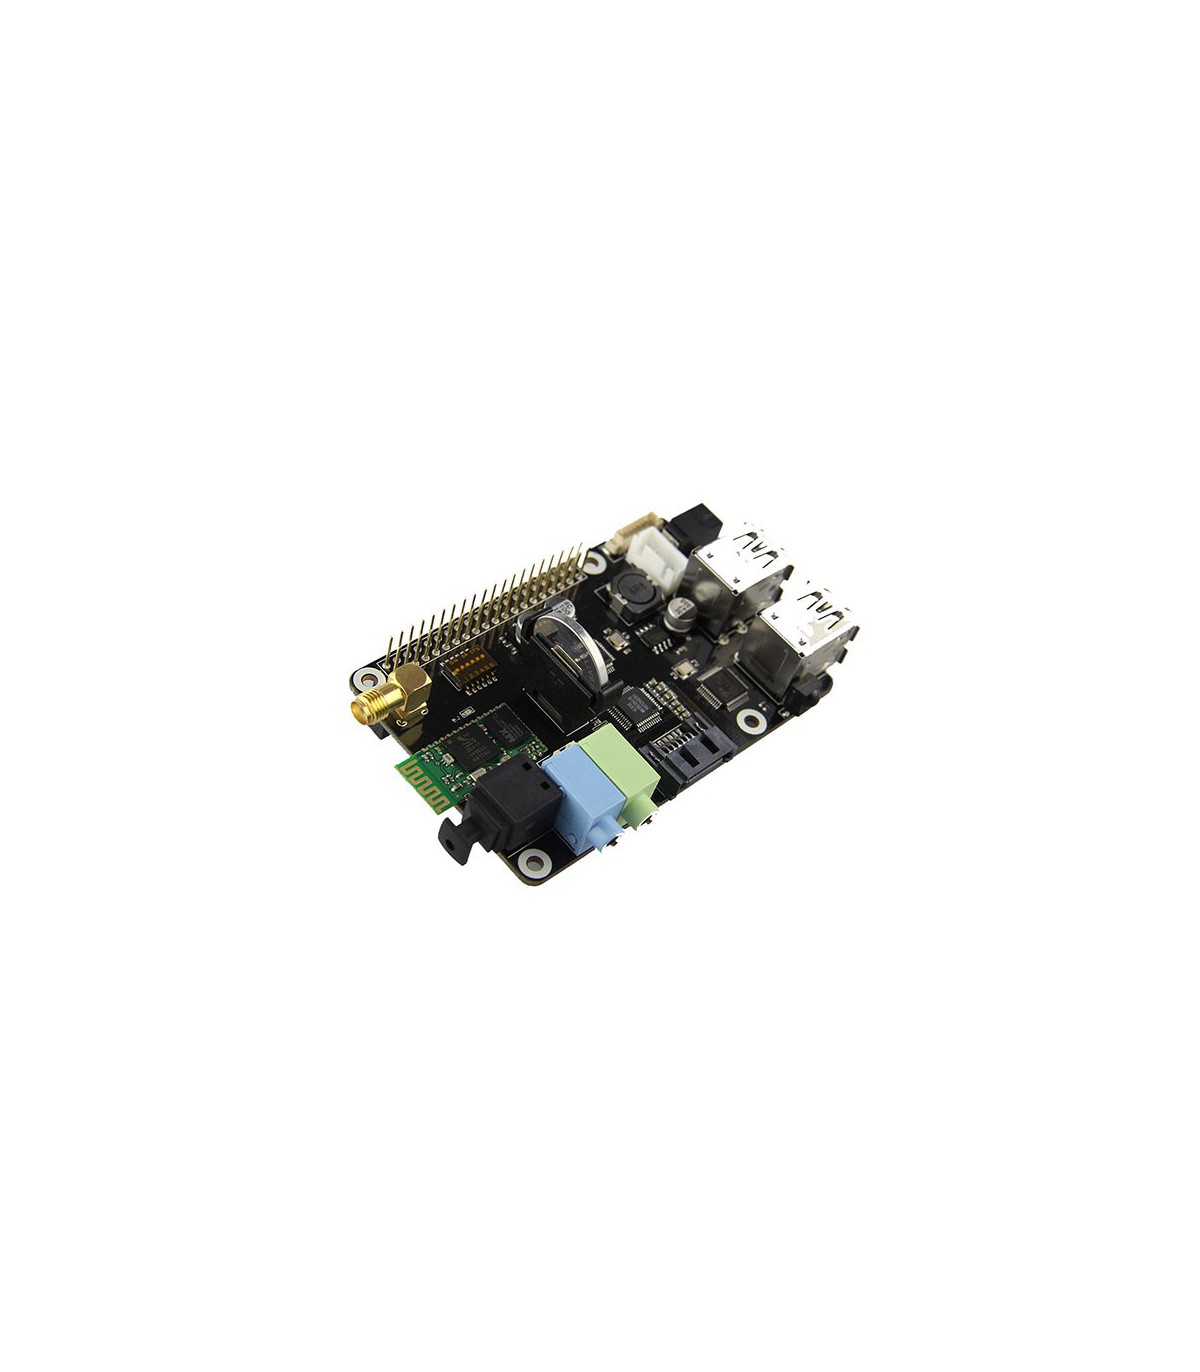
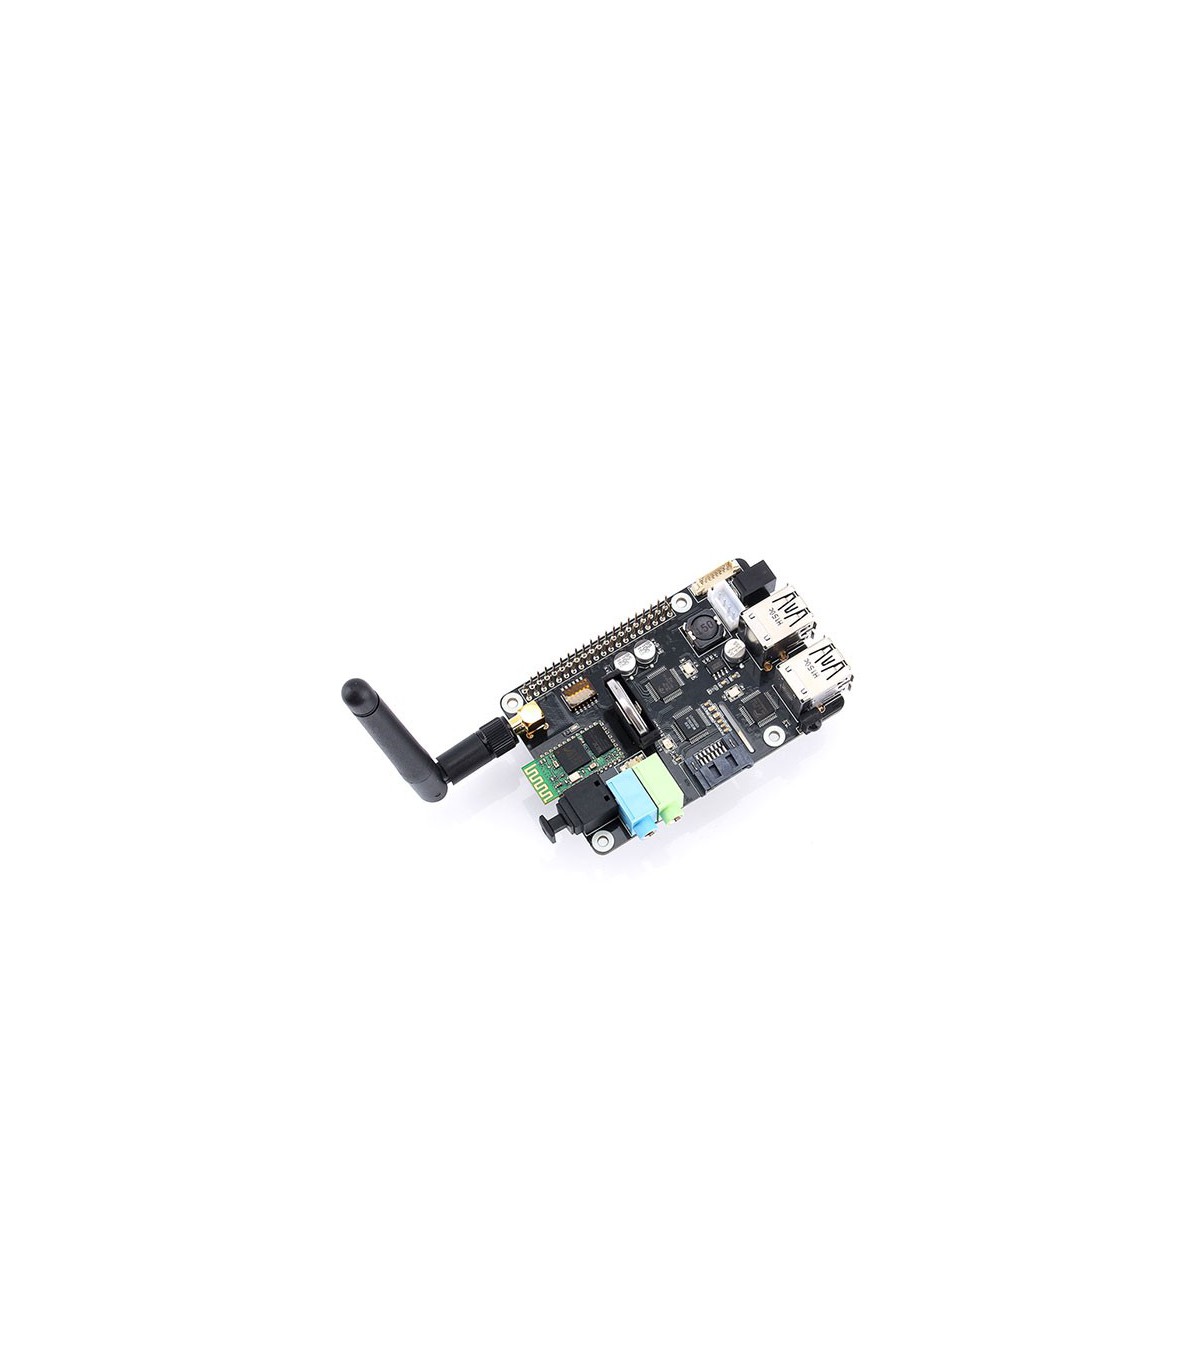
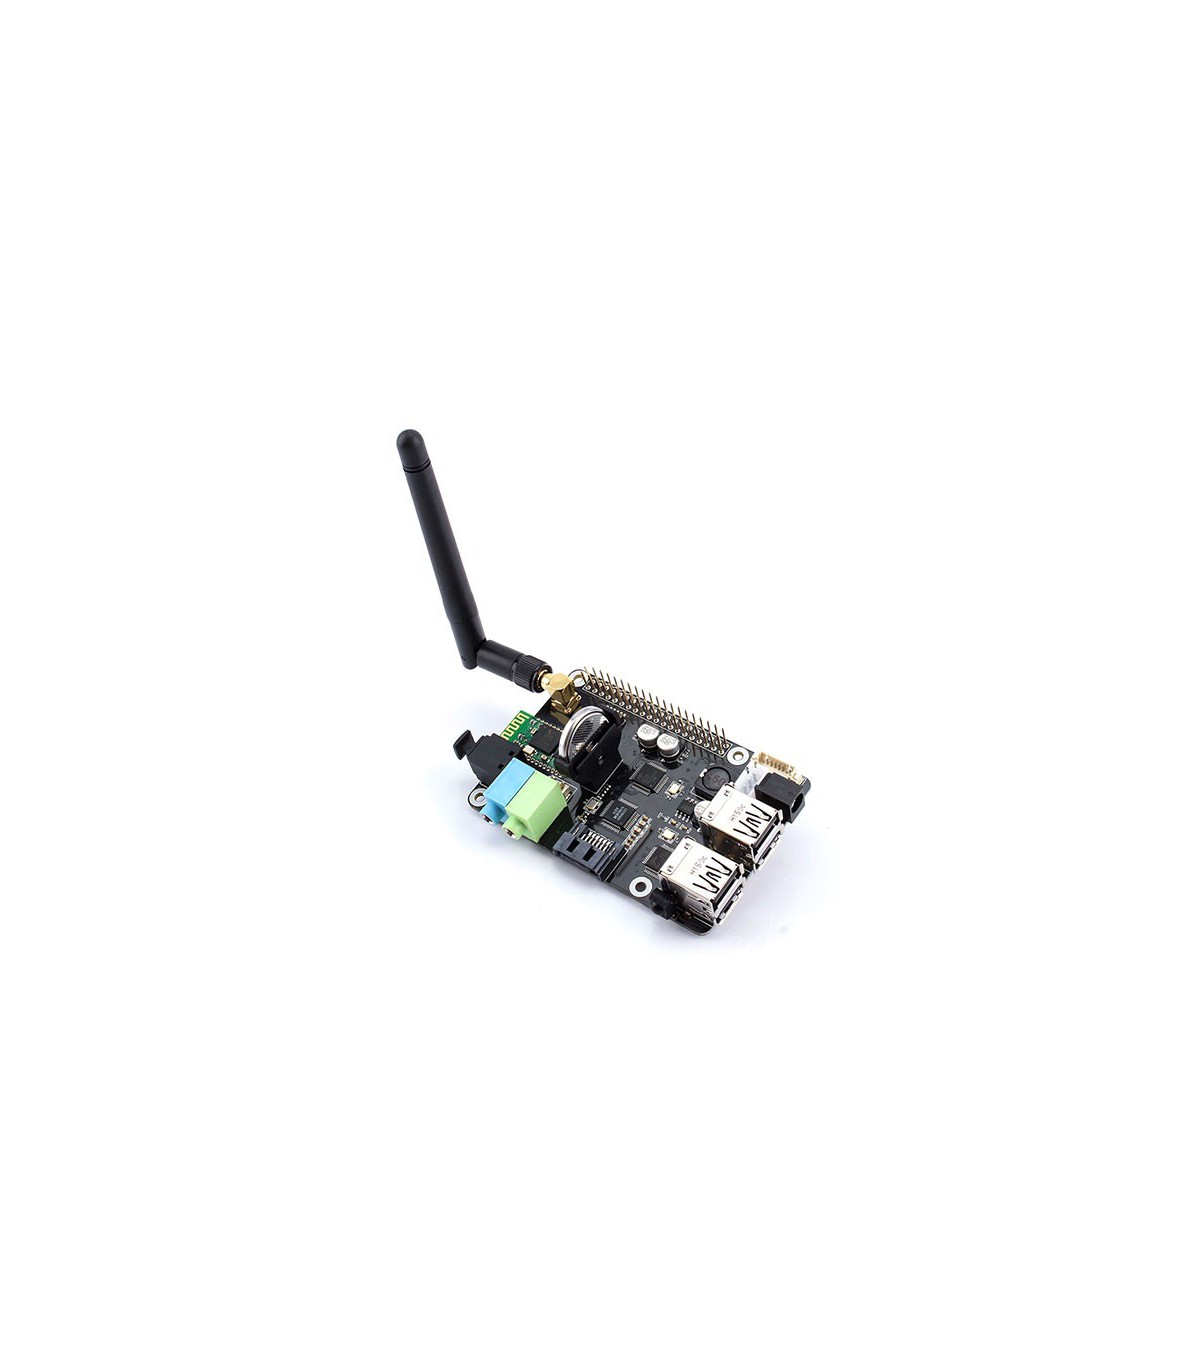
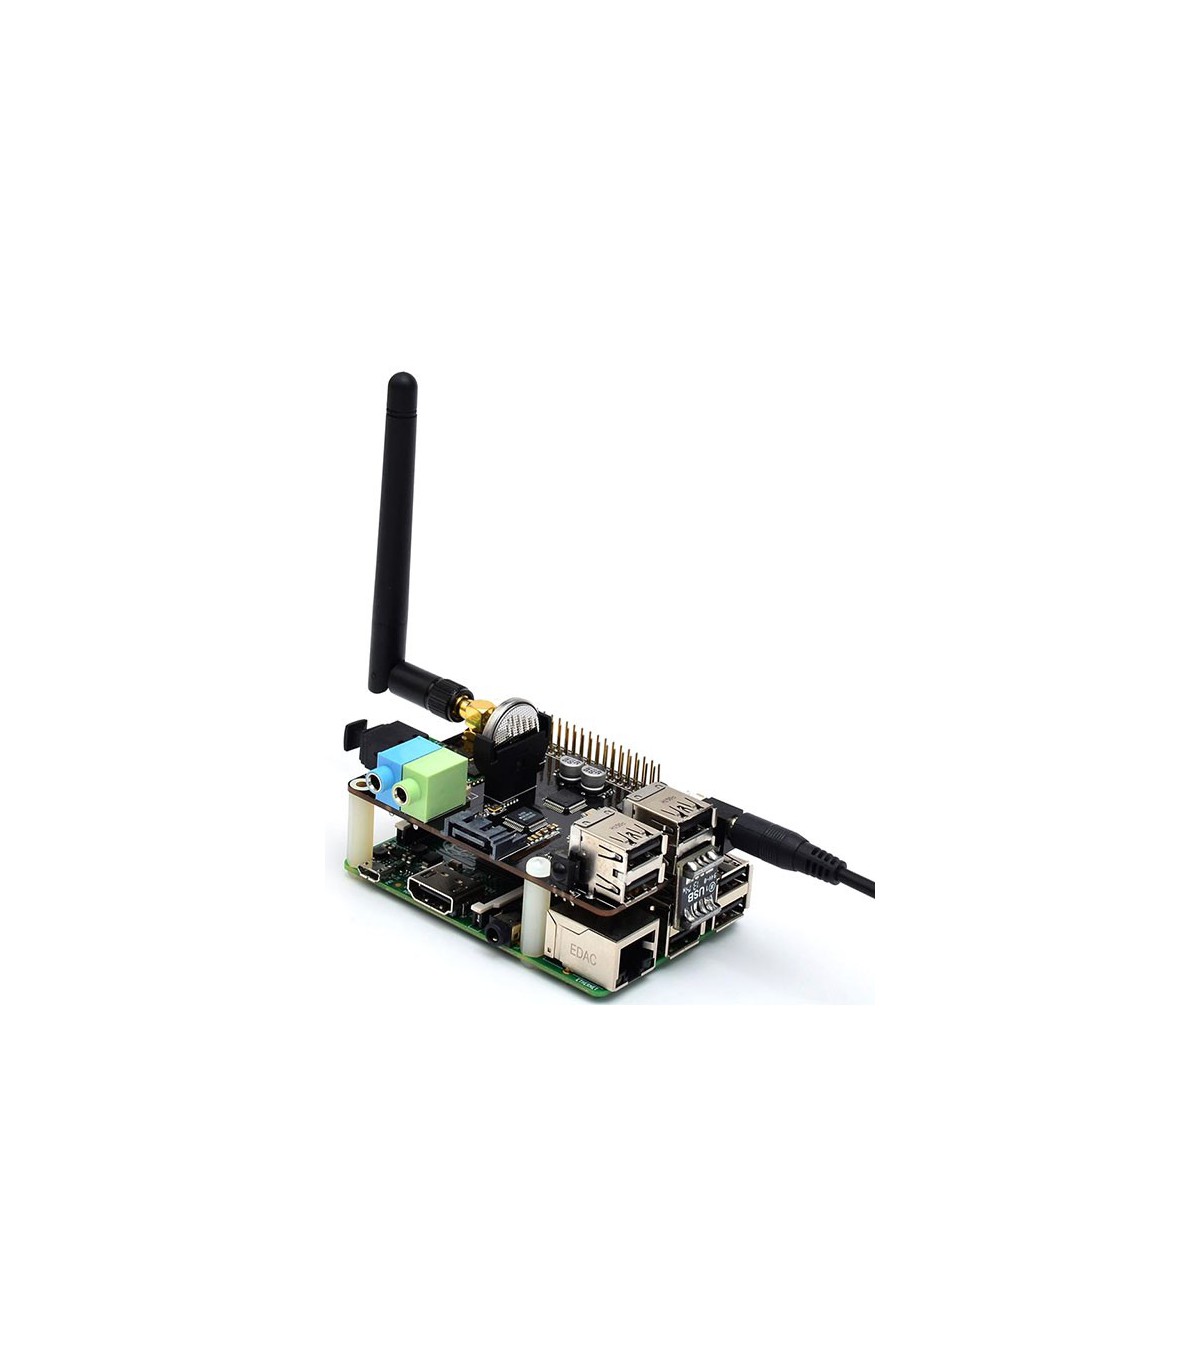
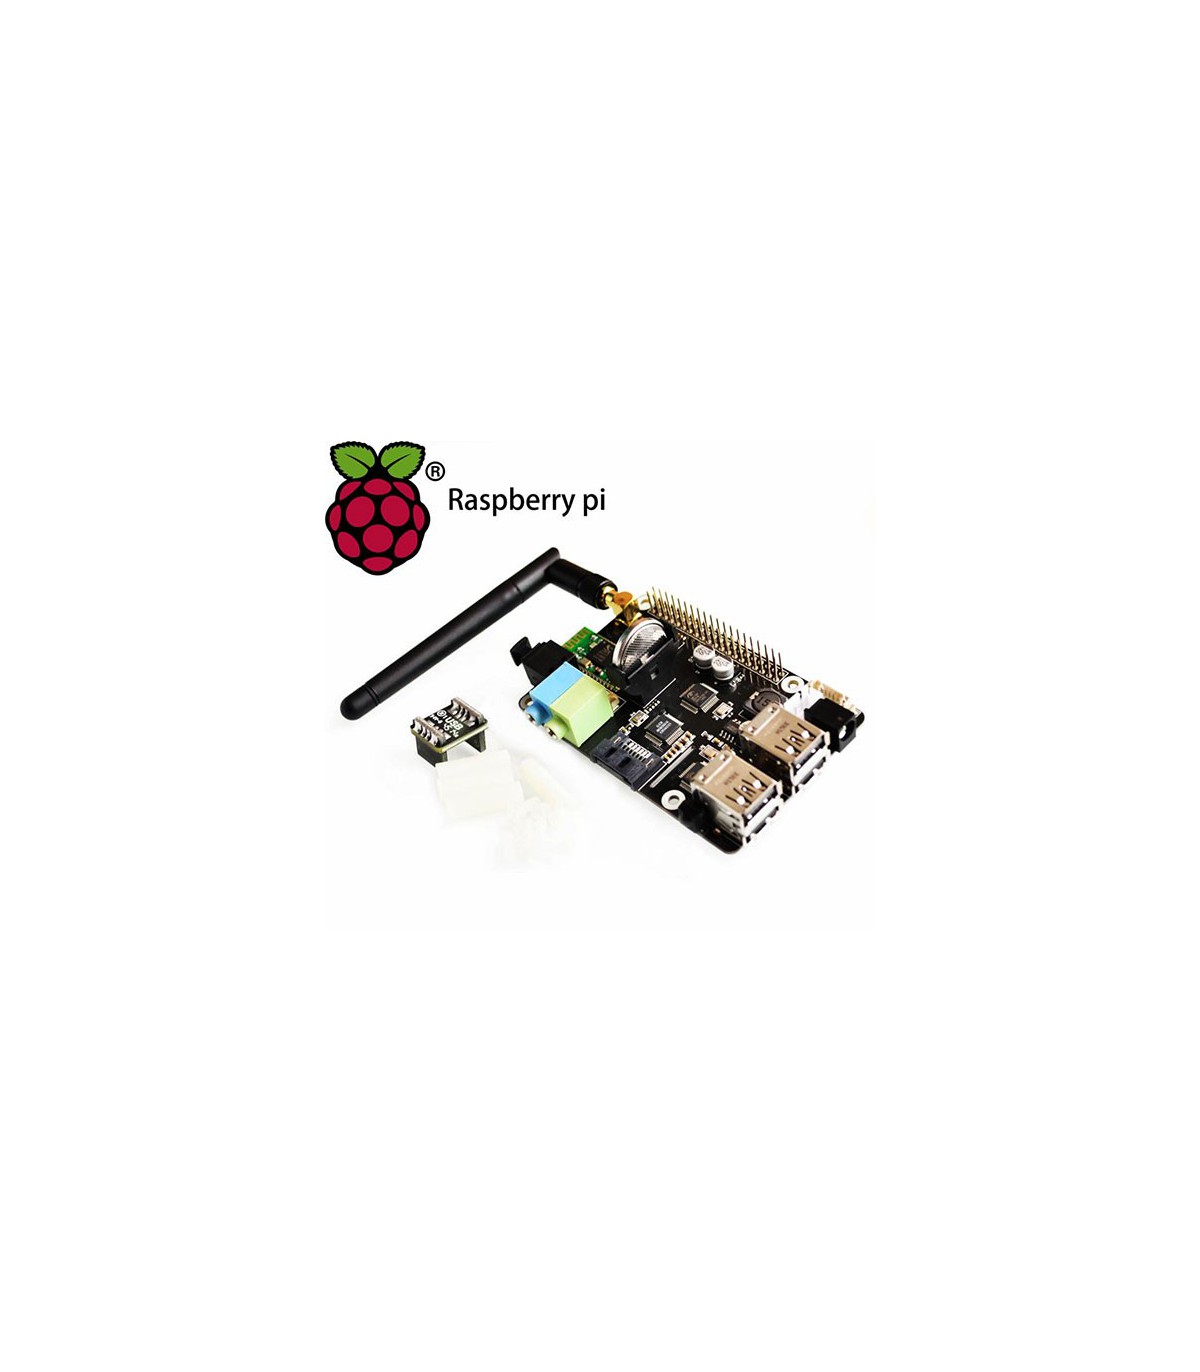
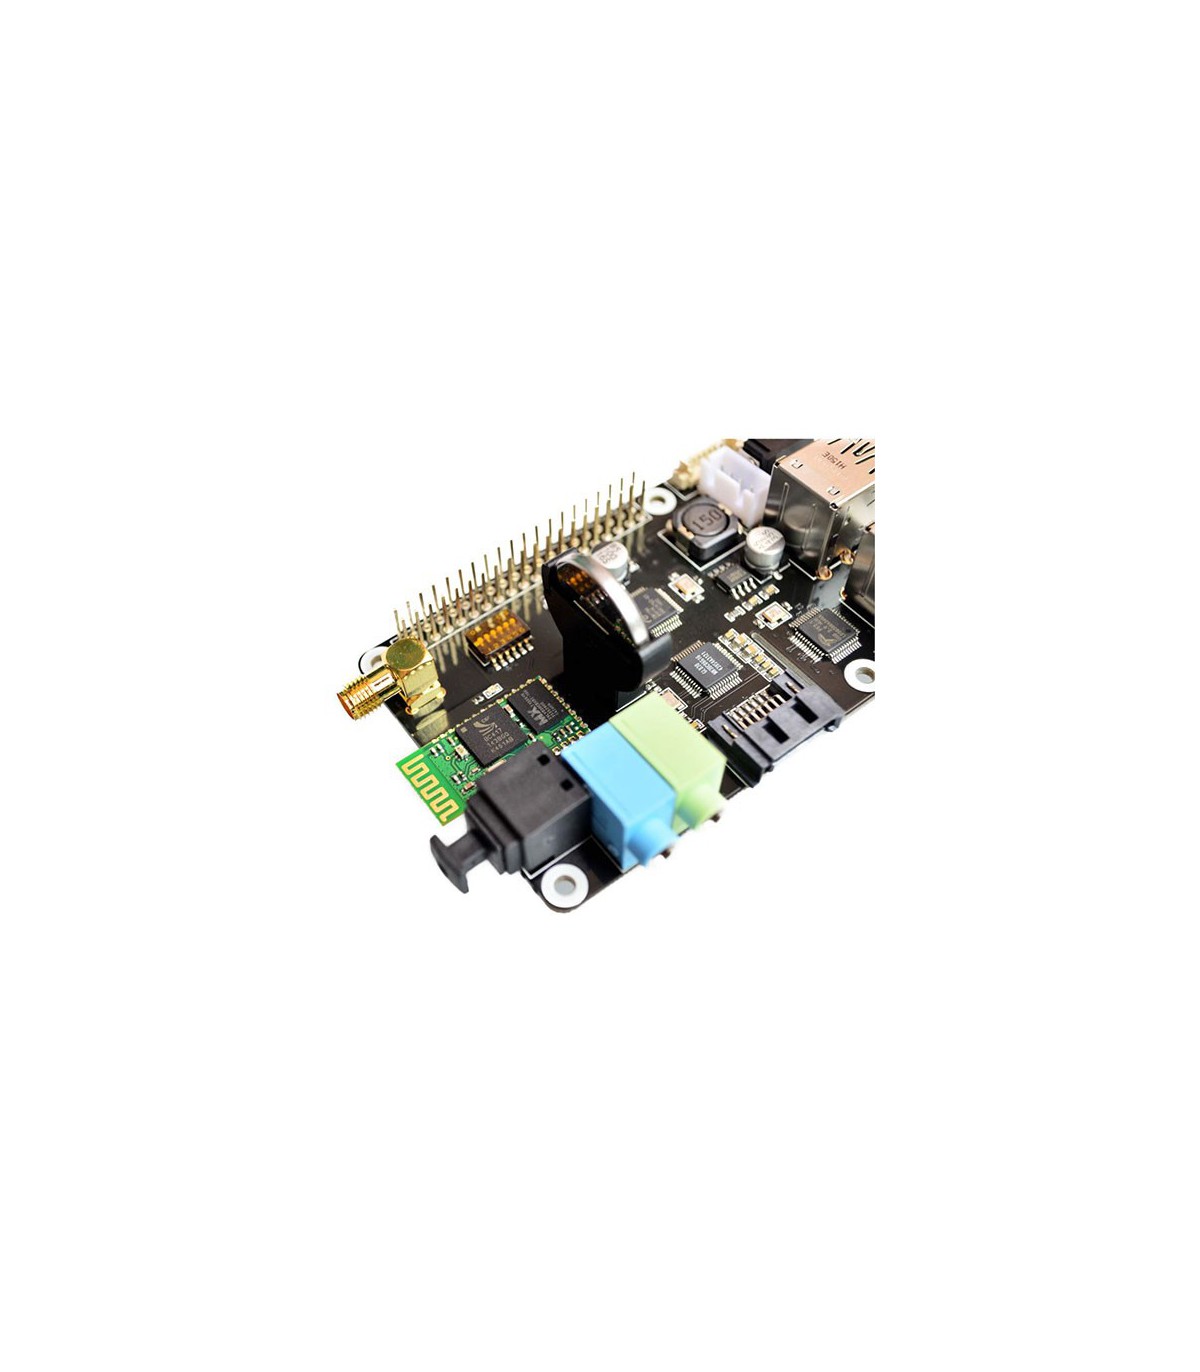


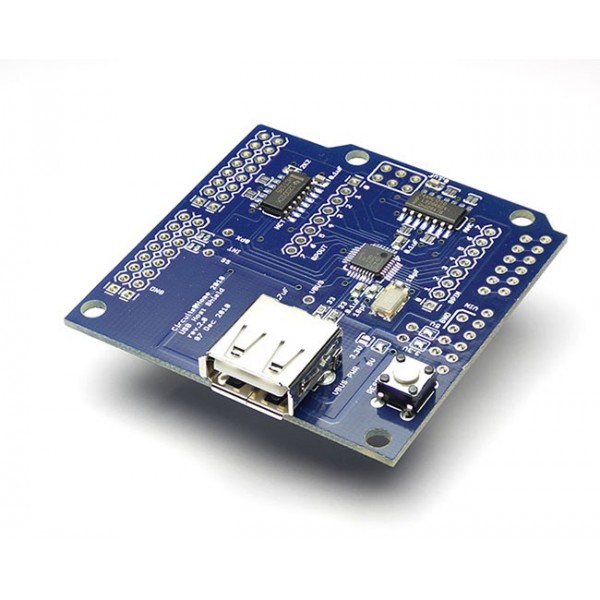
شیلد کارت صوت رزبری با بلوتوث و وای فای Raspberry Pi X300 Sound Card
یکی از مناسب ترین شیلدهای رزبری X300 Expansion Board میباشد. علاوه بر فعالیت کارت صوت، یک USB Hub جهت ارتقاء پورتهای USB، ارتباط Wifi و بلوتوث، اینترفیس ساتا SATA در کنار یک تراشه زمان سنج فوق دقیق DS3231 به همراه باتری پشتیبان، میباشد. استفاده از این شیلد در بسیاری از پروژهها کاربردی خواهد بود.
راه اندازی و تنظیمات ساعت
Once you have installed I2C check that the RTC Pi has been detected using:
| pi@raspberrypi ~ $ sudo i2cdetect -y 1 |
The RTC Pi should appear on channel 68 as shown in the screen shot below. If the RTC Pi does not appear check that the battery is installed correctly and is fully charged: 
Enable I2C by running:
| pi@raspberrypi ~ $ sudo nano /etc/modprobe.d/raspi-blacklist.conf |
Find the I2C line where the I2c is black listed
| blacklist i2c-bcm2708 |
Comment it out by replacing it with the line below
| #blacklist i2c-bcm2708 |
To ensure that the necessary kernel modules are loaded at boot, ensure your /boot/config.txt file has the entry below …
pi@raspberrypi ~ $ sudo nano /boot/config.txt |
| dtoverlay=i2c-rtc,ds3231 |
.png)
Save your changes by pressing Ctrl-x then Y
Edit /lib/udev/hwclock-set with
pi@raspberrypi ~ $ sudo nano /lib/udev/hwclock-set |
Locate the lines and edit .png)
Comment following three lines in config.txt by adding '#' located at start of the line. .png)
Save your changes by pressing Ctrl-x then Y
Reboot your Raspberry Pi
| pi@raspberrypi ~ $ sudo reboot |
Get the right time set on the Pi ,
pi@raspberrypi ~ $ sudo date MMDDHHMMYYYY.SS (MM= Month, DD= Date, HH= Hour, MM= Minute, YYYY= Year, SS= Second ) example: 2013 Jan 4 , 11:39:00 , sudo date 010411392013.00 |
Write the system time to the expansion board,
| pi@raspberrypi ~ $ sudo hwclock -w |
Verify the time ,
| pi@raspberrypi ~ $ sudo hwclock -r |
راه اندازی بلوتوث
Required additional hardware
A computer or device with a Bluetooth terminal software
To establish a communication with the Raspberry Pi over Bluetooth you need another device that can speak Bluetooth. If your computer has a Bluetooth adapter then you just need to find a terminal software that you can use to send and receive data, like HyperTerminal on Windows, orscreen on OS X and Linux. A computer is not the only choice, though. For example, I will use my Android cell phone with the free BlueTerm(download from Google play) app installed.
Wiring
| RPi GPIO pin | BT module pin |
|---|---|
| N/A | +3.3V |
| GND (Pin #6) | GND |
| TXD (Pin #8) | RXD |
| RXD (Pin #10) | TXD |
Raspberry Pi configuration
I'm going to assume you are running a recent release of Raspbian on your Raspberry Pi. If you are running another OS then you will need to find out how the changes below are done in your system.
By default the Raspberry Pi is configured to write boot time messages to the serial port, and also to start a login console on it. Unfortunately, the default baud rate that the RPi uses for its serial port is 115200 bps, while the Bluetooth module comes preconfigured to 9600 bps. There are two config files that need to be updated.
File /boot/cmdline.txt contains the kernel options that are used to boot the system. In my Raspbian based system this file contains the following options:
| pi@raspberrypi ~ $ sudo nano /boot/cmdline.txt |
| dwc_otg.lpm_enable=0 console=serial0,115200 console=tty1 root=/dev/mmcblk0p2 rootfstype=ext4 elevator=deadline fsck.repair=yes rootwait |
Change to
| dwc_otg.lpm_enable=0 console=serial0,9600 console=tty1 root=/dev/mmcblk0p2 rootfstype=ext4 elevator=deadline fsck.repair=yes rootwait |
.png)
Additional setting for Raspberry Pi 3 only (Not suitable for Raspberry Pi 2 and Pi Model B+)
If you've tried to use the UART on the GPIO header of the new Raspberry Pi 3, you may have been frustrated to discover that it doesn't work properly. until we get an official 'proper' fix (possibly setting PLLs correctly or dynamically with any changes to the core frequency), the best option seems to be setting the core clock to 250MHz, with core_freq=250 in /boot/config.txt.
| pi@raspberrypi ~ $ sudo nano /boot/config.txt |
Add the line core_freq=250 , Save and reboot! .png)
With those changes made the RPi is configured to talk to the Bluetooth module. If you now power up your Raspberry Pi you will notice that the LED in the Bluetooth module blinks rapidly. This is the sign that the Bluetooth module is ready and waiting to be paired with another device.
Connecting from a Bluetooth terminal
Now leave the RPi running with the Bluetooth module in its blinking state and go to the Bluetooth enabled computer or smartphone that you will connect to it. Your device should now find the Bluetooth module with the name BC04-B when you set it to discover devices.
If you are using an Android device with BlueTerm then start the app and from the app menu select "Connect device". Android does the baud selection automatically so you don't have to configure it. From a terminal software running in a computer it is likely that you will need to configure the speed, number of data bits per character, parity, and number of stop bits per character. The values you need to use are:
- Speed: 9600 bps
- Data bits: 8 bits
- Parity: None
- Stop bits: 1 bit
The Bluetooth module comes preconfigured with a PIN number. To complete the connection your computer or smartphone will ask you to enter this PIN. The factory default PIN is 1234.
The LED in the Bluetooth module will now stop blinking and remain lit, indicating that it has made a connection.
And here comes the fun part. You need to reboot the Raspberry Pi so that the new serial port settings take effect. To reboot the RPi run the following command in a local or network shell:
$ sudo rebootNow watch the Bluetooth terminal on your PC or smartphone while the Pi reboots. Boot messages should be appearing on your terminal, and as soon as the RPi is up you should get a login prompt there as well.
You can now login from your Bluetooth terminal and use the command line prompt as you normally would over a local or network shell.
Configuring the Bluetooth module
Firstly you will need to install minicom into your RPi using the following command:
$ sudo apt-get install minicomThe Bluetooth module comes preconfigured from the factory with a set of defaults, which are:
- Baud rate: 9600
- Bluetooth ID: BC04-B
- PIN: 1234
But these values can be changed by sending special commands through the communication channel. Now that the Raspberry Pi is connected to the module we can try this.
These special commands that configure the Bluetooth module can be sent from a connected remote device, or they can be sent from the local system, in this case the Raspberry Pi. Since the Raspberry Pi is the star of the article I'm going to also use it to do the configuration.
Here is a quick summary of the most useful configuration commands:
| Command | Description |
|---|---|
| AT | Test the communication with the Bluetooth module. |
| AT+VERSION | Report the module's version number |
| AT+NAMEname | Change the Bluetooth ID to name (maximum 20 characters). |
| AT+PINnnnn | Change the PIN to nnnn, which must be a four digit number. |
| AT+BAUDn | Change the baud rate. Use one of the following values for n: 2: 2400bps 3: 4800bps 4: 9600bps 5: 19200bps 6: 38400bps 7: 57600bps 8: 115200bps |
One tricky aspect of sending these commands is that the Bluetooth module has a very short timeout, so all the characters in a command must be entered really quickly. The safest way to get the entire command in time is to type it in a text editor window and then use copy/paste to send it really fast.
To send the commands we can use minicom. So let's fire it up one more time:
$ minicom -b 9600-o -D /dev/ttyAMA0Note that it isn't necessary to have a connection to do this, so you can do this while the Bluetooth module is in its blinking state.
You now need to use any method to get the string AT into the clipboard, and then hit paste inside the minicom window to send the command to the module.
When you send AT the module should respond with this in the minicom window:
OKIf you get this response then you know that everything is all right. If you don't get a response then for some reason the Raspberry Pi is unable to communicate with the Bluetooth module.
When I send AT+VERSION to the module I get the following response:
OKlinvorV1.5To change the baud rate to the fastest rate of 115200 we need to issue the command AT+BAUD8, and the module will respond with:
OK115200Because the baud rate was changed now the communication will break, and we will need to exit and restart minicom with the updated speed:
$ minicom -b 115200-o -D /dev/ttyAMA0To change the name of the module to MyBT we must issue the command AT+NAMEMyBT, and the module will respond with:
OKsetnameAnd to change the PIN to 4321 the command is AT+PIN4321 and the response from the Bluetooth module will be:
OKsetPINNote that when the name and/or the PIN change the module requires a power cycle for the changes to take effect.
Also don't forget that if you change the baud rate and later want to reestablish the serial console you will need to change the two config files to reflect the new baud rate you have selected in the Bluetooth module.
مشخصات
- کاربری
- مناسب برای استفاده شخصی
- نوع ماژول
- رزبری پای - Raspberry Pi
- نوع شیلد
- شیلد رزبری - Raspberry Shield
- تعداد قطعات
- 149 عدد
- ابعاد فیبر
- 85 * 56 میلی متر (هم اندازه رزبری پای)
- تعداد فیبر
- 1 عدد
- سطح تجربه مورد نیاز
- نیمه حرفه ای
- نوع ال ای دی
- معمولی
- ولتاژ ورودی
- در محدوده 6 تا 18 ولت DC برای تغذیه کارت صوت
- ولتاژ خروجی
- 5 ولت DC
- فیبر مدار چاپی
- فایبرگلاس
- جریان
- حداکثر 3 آمپر
- چاپ مس
- دارای چاپ مشکی
- اقلام همراه محصول
- کانکتور USB رزبری - آنتن - اسپیسر پلاستیکی
- ترتیب پایه ها
- طبق استاندارد GPIO رزبری پای
- سازنده
- Seed Studio
- باتری
- دارد
- شارژر
- ندارد
- نوع کانکتور
- پین هدر - جک 3.5 میلی متری هدفون و میکروفن - SATA
- تعداد جاپر
- ندارد
- کلاس بلوتوث
- کلاس 2
- کد تجاری
- X300 Expansion Board
- ورودی ویدئو
- ندارد
- خروجی ویدئو
- ندارد
- خروجی صدا
- دارد
- تعداد پورت USB
- 4 عدد
- پردازنده
- CM119A - GL830 - RT8296AH - DS3231 - HT6819 - RTL8188
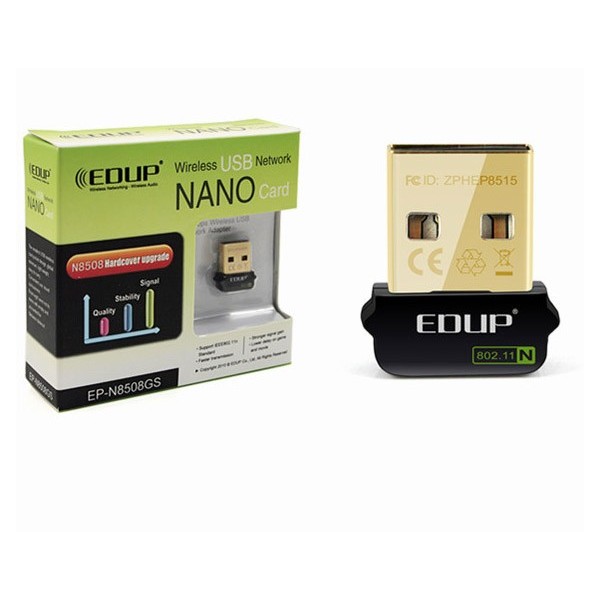
- Wifi
- دارد
- وضعیت مونتاژ
- آماده به کار
- منبع تامین انرژی
- آداپتور DC
- خروجی هدفون
- دارد
- مدیریت صوت
- از طریق سیستم عامل و قابلیت نصب میکروسوئیچ
- خروجی بلندگو
- دارد
- قابلیت Mute
- دارد
- SATA
- دارد
- Bluetooth
- دارد
- ورژن وای فای
- طبق استاندارد IEEE 802.11b/g/n
- سنسور IR
- دارد
- فرکانس سنسور IR
- 38 کیلو هرتز
- نسخه رزبری پای
- لوازم جانبی رزبری


ویژگیهای فیزیکی
ارتباطات
پردازنده
تغذیه
ویژگی های فنی
صوت
سایر ویژگیها